🚀 Quick Start
Initialize
Face Wallet SDK creates and uses Face objects. Initialize Face objects as follows:
import { Face } from '@haechi-labs/face-react-native-sdk';
import { Network } from '@haechi-labs/face-types';

// Setting the network to Ethereum
const face = new Face({
  network: Network.SEPOLIA,
  apiKey: 'YOUR_DAPP_API_KEY',
  scheme: 'CUSTOM_SCHEME'
});
To initialize the Face object, you need the issued API Key, the blockchain network and the scheme parameter to be used. Other blockchain networks that can be used in the Face Wallet can be found at 🧑💻 Initialize.
Don't forget to add the scheme to AndroidManifest.xmlIn order for the webview of Face Wallet to work properly, the scheme must be added to AndroidManifest.xml.
Please check 🚀 Installation.
Login

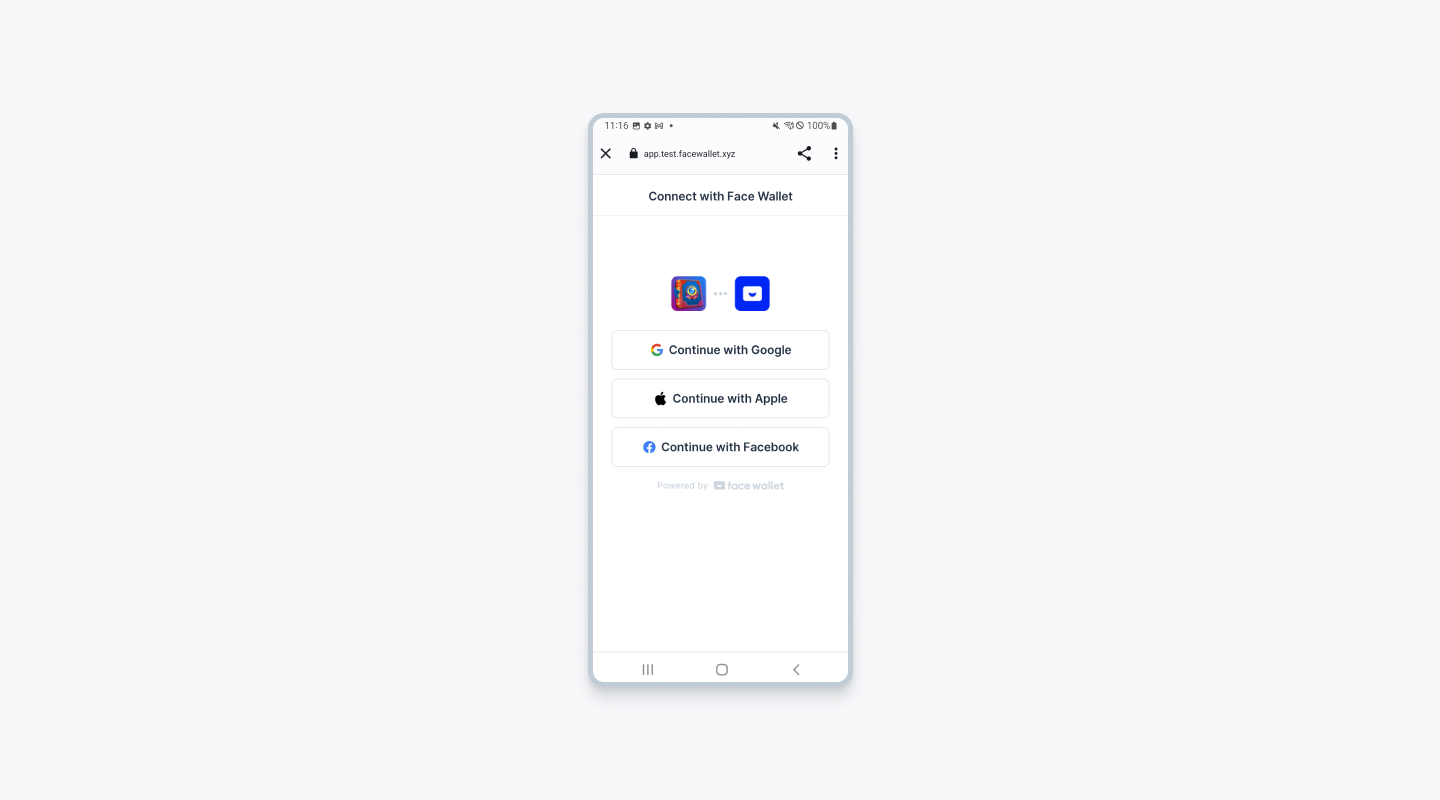
By using the login() method of Face React Native SDK, you can open the Face Wallet webview to allow the user to log in to the wallet. When the user logs in successfully, the user's wallet information can be retrieved. If a user has not created a wallet, the user can sign up in the Face Wallet modal.
import { Face } from '@haechi-labs/face-react-native-sdk';
import { Network } from '@haechi-labs/face-types';

// Setting the network to Ethereum
const face = new Face({
  network: Network.SEPOLIA,
  apiKey: 'YOUR_DAPP_API_KEY',
  scheme: 'CUSTOM_SCHEME'
});

// User should login to Face wallet
// If doesn't have any wallet, user could sign up to Face wallet in Face Wallet webview
await face.auth.login();
Get Wallet Information
If you are currently logged in the Face Wallet, you can load the Wallet’s information using Ethers.js.
import { Face } from '@haechi-labs/face-react-native-sdk';
import { Network } from '@haechi-labs/face-types';
import { ethers } from 'ethers';

const face = new Face({
  network: Network.SEPOLIA,
  apiKey: 'YOUR_DAPP_API_KEY',
  scheme: 'CUSTOM_SCHEME'
});
const provider = new ethers.providers.Web3Provider(face.getEthLikeProvider());
const signer = provider.getSigner();

// Get user's Ethereum wallet address
const userAddress = await signer.getAddress();
const balance = ethers.utils.formatEther(
    // Get user's Ethereum balance in wei
    await provider.getBalance(userAddress)
);
Send Transaction

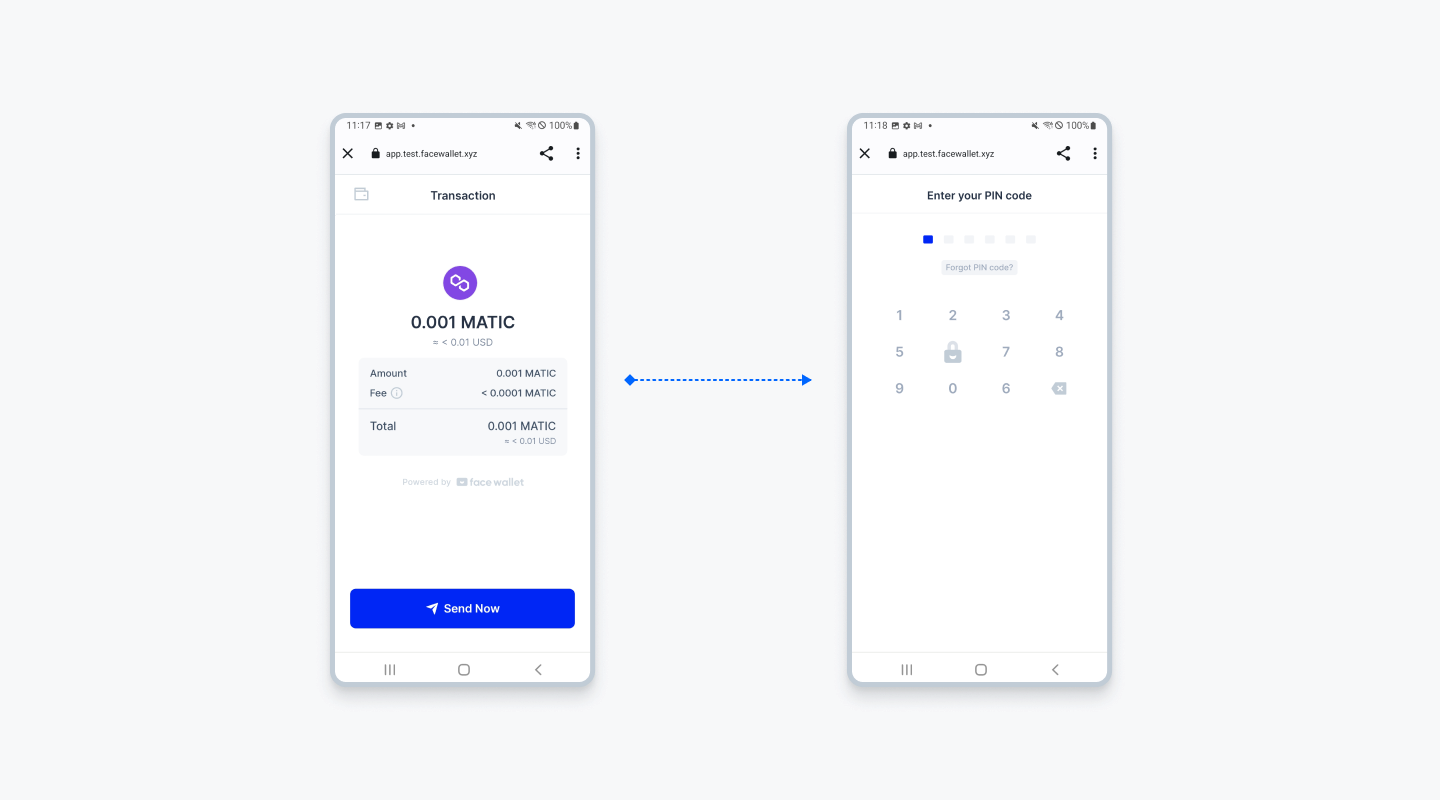
If you are currently logged in the Face Wallet, you can send a transaction from the wallet using Ethers.js. When sending a transaction, the user confirms the transaction information through the Face Wallet webview and enters a PIN code.
import { Face } from '@haechi-labs/face-react-native-sdk';
import { Network } from '@haechi-labs/face-types';
import { ethers } from 'ethers';

const face = new Face({
  network: Network.SEPOLIA,
  apiKey: 'YOUR_DAPP_API_KEY',
  scheme: 'CUSTOM_SCHEME'
});
const provider = new ethers.providers.Web3Provider(face.getEthLikeProvider());
const signer = provider.getSigner();

// Dapp should choose the input required to send transaction
const receiverAddress = '0x9C4206e78bFfca62a4821A5079A7bF46986f6da6';
const amount = ethers.utils.parseEther('0.1');

// This transaction means user send his/her 0.1 ETH to receiver address
// User would confirm the transaction information in Face wallet modal
// Then user would enter the PIN code in Face wallet modal
const tx = await signer.sendTransaction({
    to: receiverAddress,
    value: amount,
});

// If you want to use 12 confirmations, set 'confirms' parameter to 12
const receipt = await tx.wait();
const txHash = receipt.transactionHash;
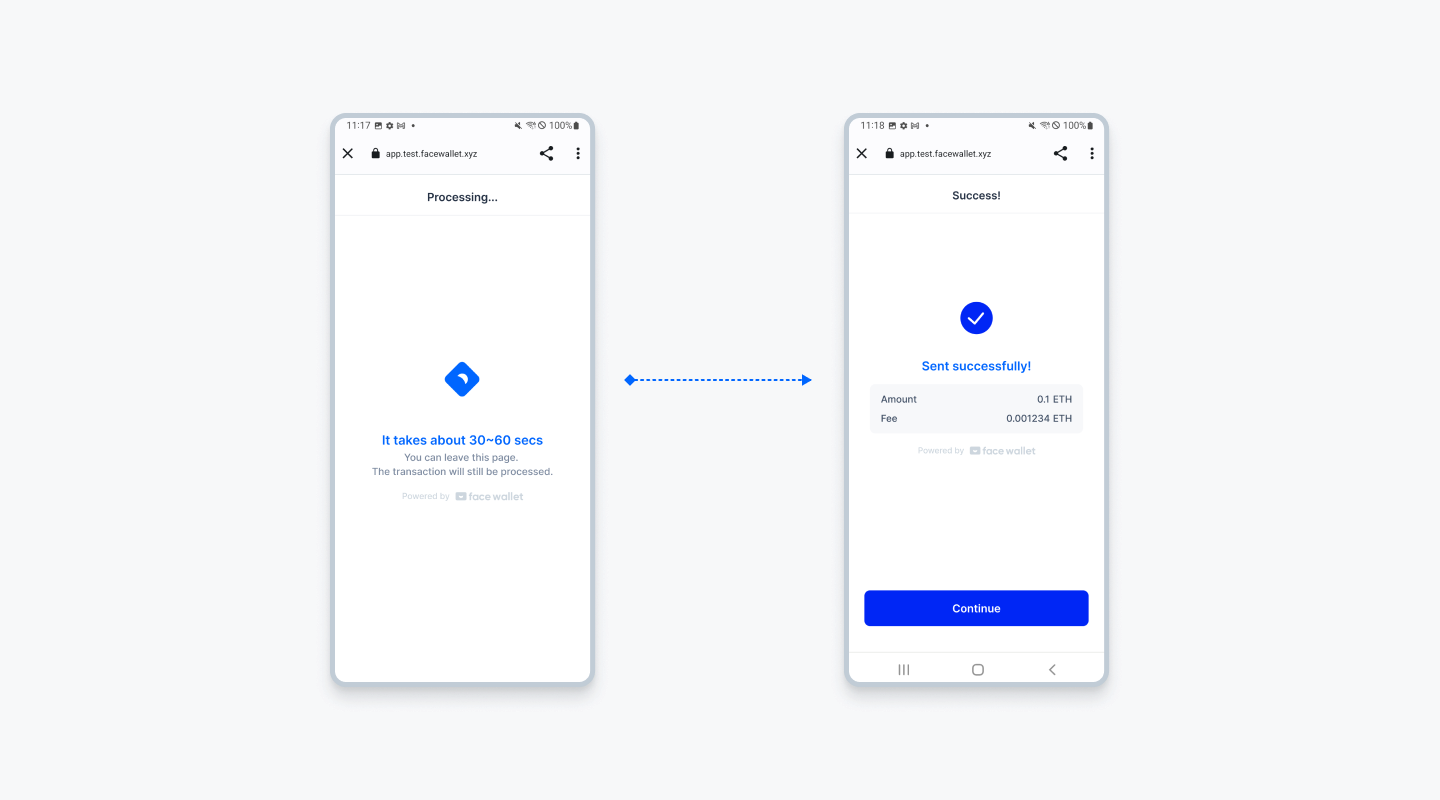
When the transaction is sent, the Face Wallet webview switches to the [Processing] status screen. If the webview is closed in the [Processing] status, the sendTransaction method return the transaction hash. If the transaction is mined before the user closes the [Processing] screen, the Face Wallet webview switches to the [Success] status screen.
Updated 18 days ago